
Think of a top coat gel as the armour for a perfect manicure. It's the essential final seal that locks in the colour and design, protecting it from the outside world while delivering that flawless, professional finish everyone wants.
What Is Top Coat Gel and Why Is It a Must-Stock Item?
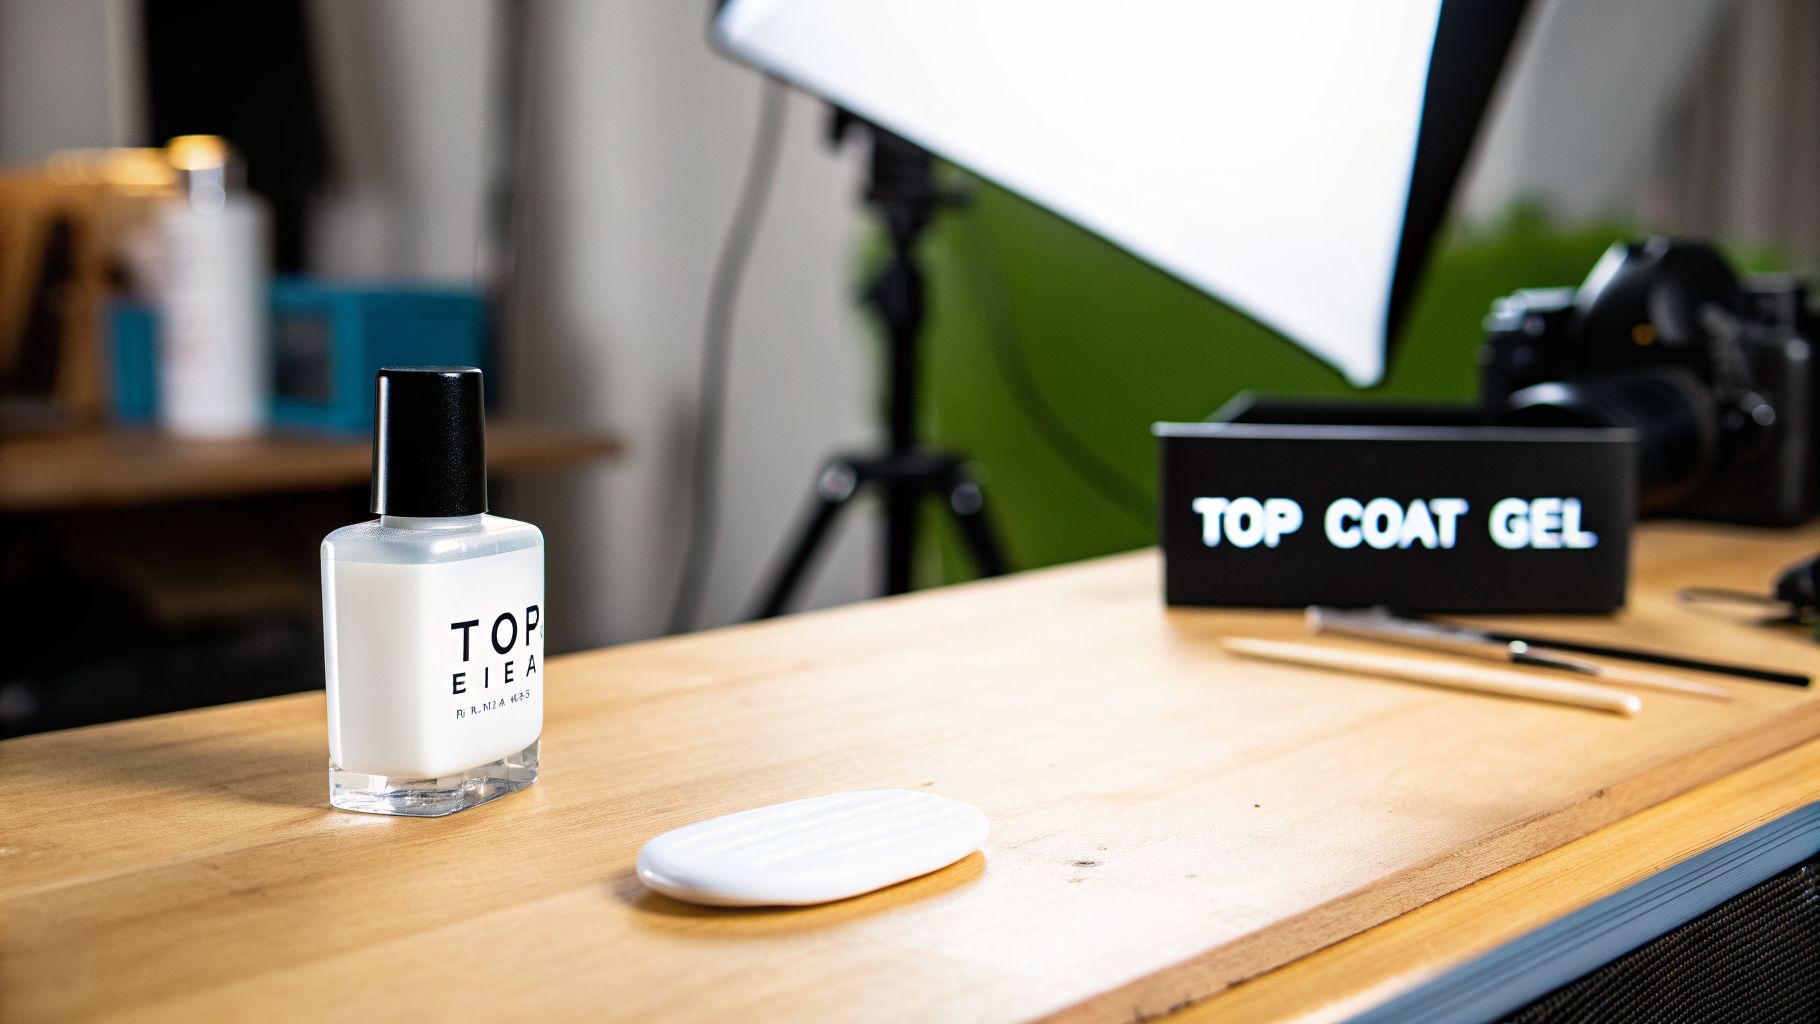
At its core, a top coat gel is a specific type of polish applied as the last step in a gel manicure. Unlike a traditional top coat that air-dries, this one is formulated to cure, or harden, under a UV or LED lamp. This curing process is what creates an incredibly tough, non-porous surface.
It’s this hardened layer that gives a gel manicure its famous longevity and shine. You can explain it to clients like this: it works much like a clear, protective varnish on a beautiful piece of wooden furniture, guarding the artistry underneath. This simple step ensures the manicure stays impeccable for up to four weeks.
Core Functions and Retail Value
For your clients, the appeal is immediate and practical. A professionally applied top coat gel delivers real, tangible results they can see and feel.
- Extended Durability: It acts as a resilient shield against the realities of daily life—preventing chips, scratches, and peeling.
- Vibrant Colour Protection: By sealing the pigment, it helps prevent UV rays from causing the beautiful colour to fade or yellow.
- Customisable Finishes: It’s not just about protection. It’s also about style, offering everything from a classic, mirror-like shine to a sophisticated, velvety matte effect.
To give you a quick overview, here’s a breakdown of why stocking a premium top coat gel is a smart move for your business.
Top Coat Gel At a Glance
| Key Function | Primary Benefit for the Client | Value for the Retailer or Spa |
|---|---|---|
| Protection | Extends the life of the manicure, preventing chips and scratches for weeks. | Increases client satisfaction and builds loyalty through long-lasting results. |
| Finish | Provides a high-gloss or modern matte look, elevating the final aesthetic. | Allows for service customisation and upselling opportunities with different finishes. |
| Colour Guard | Seals in the colour, preventing it from fading due to UV light or wear. | Reinforces the quality of the colour service, ensuring it looks fresh for longer. |
Ultimately, a quality top coat ensures the work you do—or the products you sell—perform exactly as promised, reinforcing your reputation for excellence.
For any Swiss pharmacy or spa, a premium top coat gel is simply non-negotiable. It’s the key to guaranteeing the quality of your professional services and is also a high-demand retail product for customers wanting to achieve salon-grade manicures at home.
This isn't just anecdotal; the market data speaks for itself. The UV gel polish segment is the fastest-growing category in the entire nail care industry. Projections show the global market is set to reach an incredible USD 2,650.40 million by 2033. You can dive deeper into these trends on Grand View Research.
This powerful growth signals a clear consumer preference for durable, professional-quality nail products. By stocking a superior top coat gel, you position your business to directly meet this demand, solidifying your reputation for quality and expertise in a booming market.
Exploring Different Types of Top Coat Gel Finishes
Think of a top coat gel as the final word in a manicure's story—it determines the entire mood and finish. It’s not just about protection; it's about the final aesthetic. For any pharmacy or spa in Switzerland, stocking the right variety means you can say "yes" to virtually any client request, from the ultra-glossy to the sophisticatedly subdued.
Let's break down the three core types that form the foundation of any professional gel collection. Each one serves a distinct purpose, and understanding their unique personalities is the key to curating an intelligent and profitable inventory.
The Efficient No-Wipe Top Coat
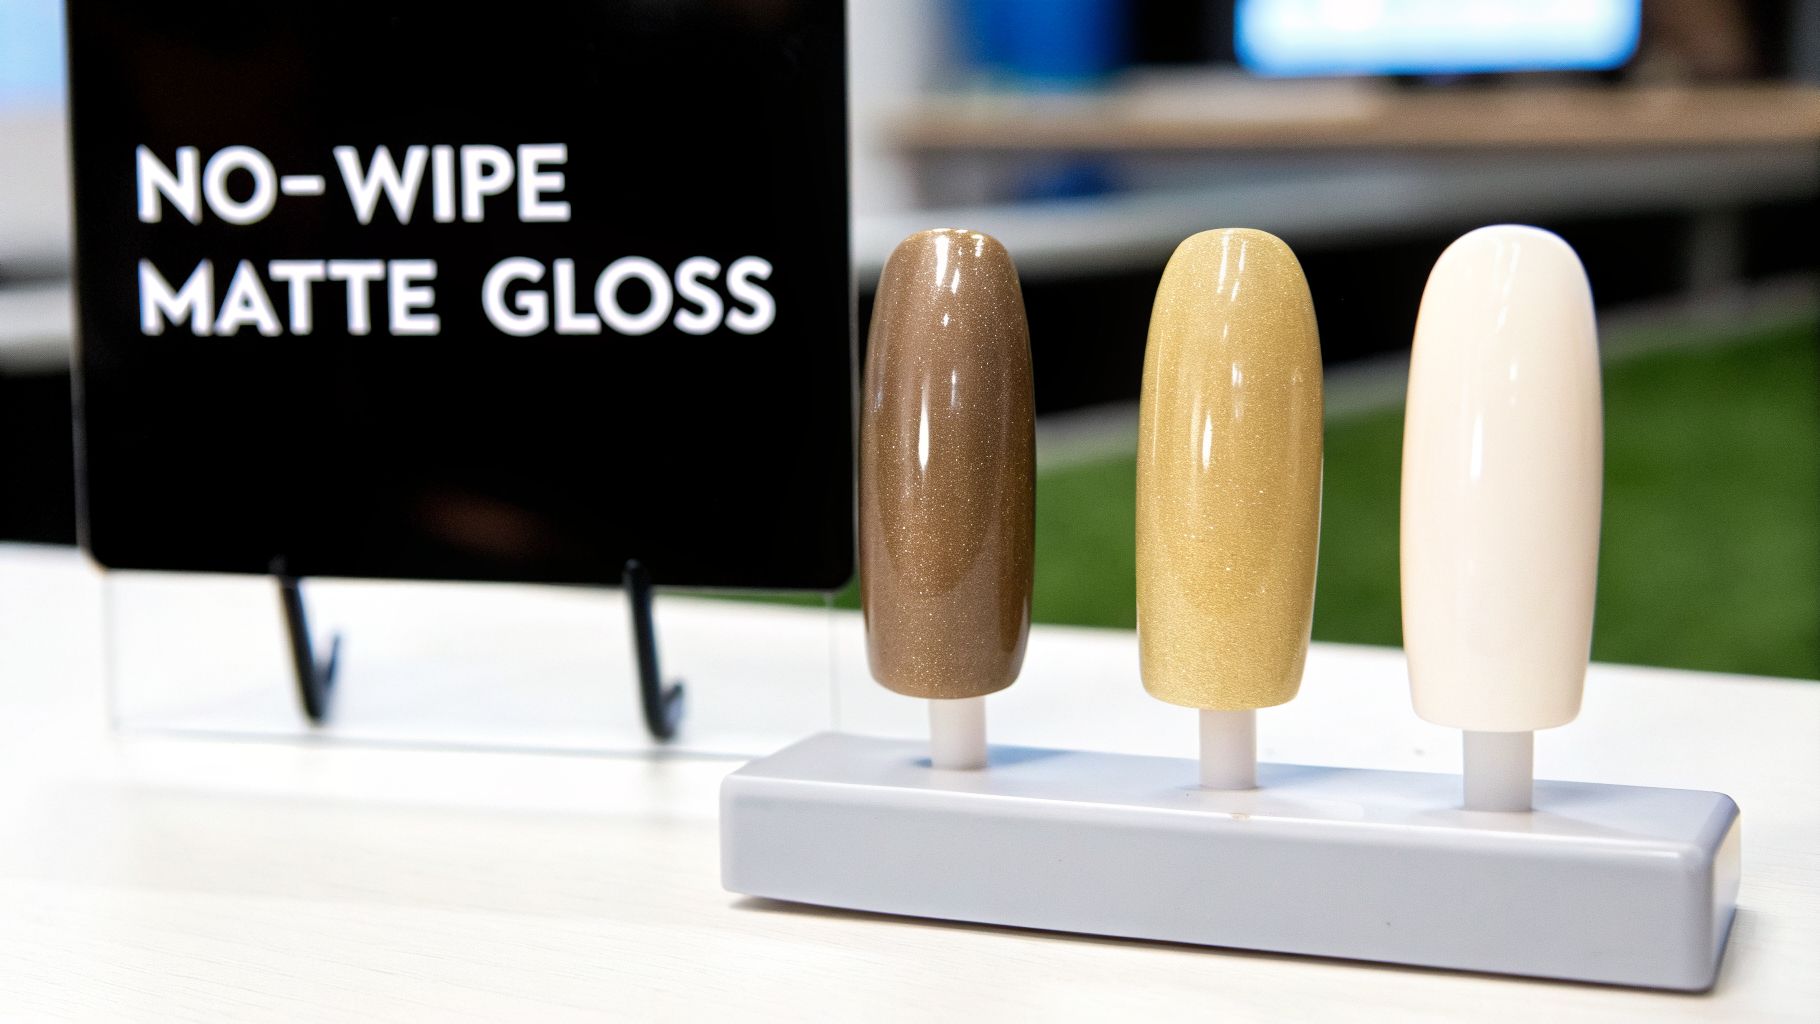
The No-Wipe Top Coat has quickly become the industry standard, and for good reason: it’s all about speed and simplicity. As the name implies, it cures completely solid under the lamp, leaving a perfectly smooth, non-sticky surface. There’s no inhibition layer to clean off.
For a busy technician, this is a game-changer. It shaves precious minutes off appointment times and cuts down on the amount of cleanser used. Beyond efficiency, its ultra-smooth finish provides the perfect canvas for specialised nail art. This is the top coat you must use for applying chrome powders or mirror pigments, as they need a tack-free surface to burnish on correctly.
The Traditional High-Shine (Tacky) Top Coat
Before no-wipe formulas took over, the classic High-Shine Top Coat was the only option. This is the original workhorse. Unlike its modern counterpart, it cures with a sticky residue, often called the "inhibition layer." The final step of the manicure involves wiping this layer away with a lint-free pad soaked in isopropyl alcohol to reveal the shine underneath.
So, why bother with the extra step? Many seasoned nail artists swear that this traditional method produces a richer, deeper shine with a "plumped-up" effect. That sticky surface is also incredibly useful for anchoring larger embellishments like crystals or 3D charms before the final cleanse.
This type of top coat is prized for its exceptionally glossy, liquid-glass appearance. For clients who prioritise the most brilliant, reflective finish possible, a high-shine tacky top coat is often the preferred choice, delivering that signature "wet look" that lasts for weeks.
The Modern Matte Top Coat
For clients who crave a more understated, fashion-forward look, the Matte Top Coat Gel is an absolute essential. Instead of reflecting light, it absorbs it, curing to a flat, velvety finish that feels almost soft to the touch. It’s a simple way to completely alter the personality of any gel colour.
Matte finishes are especially popular with autumnal and winter colour palettes, turning deep burgundies and forest greens into something truly chic. They also create stunning visual contrast in nail art, especially when paired with glossy accents. Offering a matte option instantly doubles the creative potential of your existing gel colour library, catering to a sophisticated clientele that looks beyond traditional shine.
To help you decide what to stock, here’s a quick comparison of how these three finishes stack up against one another.
Comparing Top Coat Gel Finishes
| Top Coat Type | Finish | Key Feature | Best For |
|---|---|---|---|
| No-Wipe | High-Gloss | Cures tack-free; no cleanser needed | Speed, efficiency, and chrome/mirror powder application |
| High-Shine (Tacky) | Ultra-Glossy | Cures with a sticky layer needing a cleanse | Achieving maximum depth of shine; adhering 3D art |
| Matte | Velvety, No Shine | Creates a flat, non-reflective surface | Understated, modern looks and high-contrast nail art |
Ultimately, a well-rounded offering includes all three. This ensures that whether a client wants a quick, glossy service, a deep "wet-look" finish, or a trendy matte design, your technicians have the right product at their fingertips.
Understanding the Science of Gel Formulations and Curing
Ever wonder what magic happens under that little lamp to turn a liquid gel into a rock-hard, glossy finish? It’s not magic at all, but some really clever chemistry. To get why professional top coat gels perform so well, you need to peek behind the curtain at what’s happening on a molecular level.
Think of a gel top coat as a collection of tiny, free-floating molecules. The main players are oligomers and monomers. In the bottle, they're just swimming around, keeping the gel in its liquid state. They’re waiting for a signal to get to work, and that signal comes from a special ingredient called a photoinitiator.
Photoinitiators are the trigger. They’re designed to react to very specific wavelengths of light. When you slide a freshly coated nail under a UV or LED lamp, these photoinitiators absorb that light energy and immediately kick off a chain reaction.
The Curing Process Explained
That reaction has a technical name: polymerisation. We just call it "curing." Essentially, the energised photoinitiators tell all the individual oligomers and monomers to grab onto each other and form long, tightly-woven chains. These chains are called polymers.
It’s like a massive construction site where thousands of tiny building blocks (the monomers and oligomers) are just lying around. When the lamp switches on, it's like a foreman blowing a whistle, and in seconds, all those blocks snap together to form an incredibly strong, solid wall. This is exactly what happens on the nail, creating that durable finish in just 30 to 60 seconds.
This is why using the right lamp isn't just a recommendation—it's mandatory. A specific gel formula is calibrated to react to the exact light spectrum its matching lamp puts out. Using the wrong one is a recipe for failure.
UV vs. LED Lamps: What You Need to Know
The main difference between UV and LED lamps comes down to the kind of light they emit and how fast they work.
- UV Lamps: These lamps cast a broader spectrum of ultraviolet light. While they can cure almost any type of gel, they are much slower, usually needing about 120 seconds to get the job done. Their bulbs also lose power over time and need to be replaced regularly to work correctly.
- LED Lamps: These are the modern standard. They emit a much narrower, more focused band of light. This targeted energy cures the gel incredibly fast—often in just 30-60 seconds. Plus, LED bulbs are more energy-efficient and last for thousands of hours, so you'll likely never have to replace them.
For these reasons, nearly all modern gel systems are formulated for LED lamps to give technicians the speed and efficiency they need. It’s crucial to always use a complete, matched system from a single brand. The lamp, base coat, gel colour, and top coat are all designed to work in perfect harmony. Mixing and matching brands can cause improper curing, leading to problems like wrinkling, a dull finish, or a manicure that chips and lifts within days.
Proper polymerisation is also a critical safety measure. If a gel isn't fully cured, unreacted monomers can remain on the nail and skin. Over time, this exposure can lead to skin sensitivities or even allergic reactions. A full, proper cure doesn't just protect the manicure; it protects the client, reinforcing your reputation for professional, high-quality services.
Mastering Professional Application and Removal Techniques
Anyone who’s worked with gels for a while knows that the final step—the top coat gel—can make or break an entire manicure. Getting that flawless, mirror-like finish that lasts for weeks isn’t just about the product; it’s all about the technique. A great application protects the nail and the art underneath, while a safe removal process keeps clients coming back.
The secret is to work with thin, even layers. If you apply the top coat too thickly, you risk it "pooling" around the cuticles and sidewalls. Not only does this look unprofessional, but it's a primary cause of premature lifting.
The Art of Flawless Application
One of the most important professional tricks of the trade is capping the free edge. It's a simple move: just run your brush lightly along the very tip of the nail. This small action creates a seal around the edge, effectively locking in the colour and preventing chips where they're most likely to start.
The real magic, of course, happens under the lamp. The gel goes on as a liquid and, in a matter of seconds, becomes a tough, durable shield.
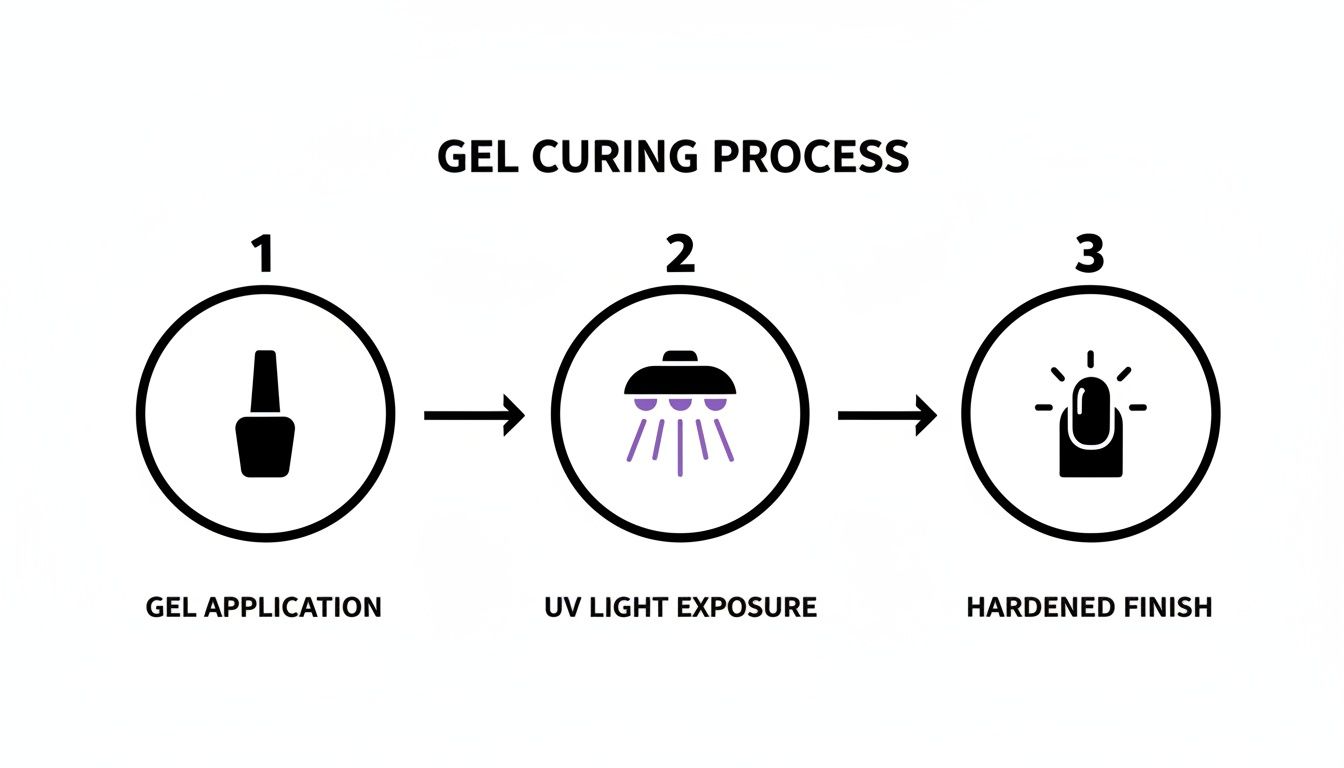
As you can see, the UV or LED light is what triggers the polymerisation, hardening the gel into that solid, protective finish we're after. A full and proper cure isn't just a suggestion; it’s absolutely essential for durability and your client's safety.
To get that perfect cure every time, follow this industry-standard process:
- Prepare the Nail: Once your final colour coat is cured, check that the surface is smooth and completely free of any dust or debris.
- Apply a Thin Layer: Get a small bead of top coat gel on your brush and apply it evenly over the nail plate. Be careful to stay away from the skin.
- Cap the Free Edge: Gently swipe the brush tip along the nail's edge to seal everything in.
- Cure Correctly: Immediately place the hand in a compatible LED or UV lamp and cure for the time recommended by the manufacturer, which is usually 30-60 seconds.
- Cleanse (If Needed): If you're using a traditional tacky top coat, you'll need to wipe away the sticky inhibition layer. Use a lint-free pad soaked in isopropyl alcohol. If you're using a no-wipe formula, you can skip this step entirely.
Ensuring Safe and Gentle Removal
Just as important as the application is the removal. In fact, improper removal is the single biggest culprit behind nail damage from gel services. A key part of your job as a professional is teaching clients what not to do at home.
Never, ever peel, pick, or force off a gel manicure. This aggressive action rips away the top layers of the natural nail plate, leading to thinning, weakness, and damage that can take months to repair.
The only safe and professional way to remove gel is with a gentle soak-off method. This technique breaks down the product so it comes away easily, without harming the natural nail underneath.
The Professional Soak-Off Method:
- Buff the Surface: Start by gently filing the shine off the top coat. This breaks the seal and allows the acetone to do its work.
- Soak Cotton: Saturate a small piece of cotton wool with pure acetone or a specially formulated gel remover.
- Wrap the Nail: Place the wet cotton directly on the nail and wrap the fingertip snugly in a small piece of aluminium foil.
- Wait Patiently: Now, you just have to let it sit. Allow the nails to soak for about 10-15 minutes.
- Gently Remove: When you unwrap the foil, the gel should look softened and almost flakey. Use an orangewood stick or a gentle cuticle pusher to carefully slide the product off. If some stubborn bits remain, don't scrape them! Just re-wrap the nail for a few more minutes.
By mastering both sides of this process—application and removal—you set your business apart. It’s this deep commitment to quality, nail health, and professional standards that builds lasting client loyalty and truly justifies a premium service.
Choosing Ethical and Certified Gel Formulations
It’s no secret that today’s beauty clients are more discerning than ever. The story behind a product—where it comes from and what it stands for—is now just as crucial as its performance on the nail. They aren’t just buying a manicure; they’re choosing to support brands that reflect their personal values.
For Swiss pharmacies and high-end spas, this shift presents a real opportunity. When you stock top coat gel formulations that are ethically made and properly certified, you're making a powerful statement. It shows you understand what matters to your clients, moving beyond surface-level beauty to a deeper commitment to wellness and transparency.
What “Free-From” Formulations Really Mean
You’ve probably noticed labels like "HEMA-free" or "10-free" popping up on professional nail products. These aren’t just marketing terms; they’re important signals about what’s been deliberately left out of the bottle. A HEMA-free top coat gel, for instance, avoids hydroxyethyl methacrylate, a well-known potential allergen in the nail industry.
"Free-from" lists take this a step further by excluding a whole range of potentially harsh chemicals. While the specific list can vary from one brand to another, a "10-free" formula typically means the product is made without:
- Formaldehyde
- Toluene
- Dibutyl Phthalate (DBP)
- Formaldehyde Resin
- Camphor
- Ethyl Tosylamide
- Xylene
- Triphenyl Phosphate (TPHP)
- Parabens
- Animal-derived ingredients
By offering cleaner formulations like these, you can confidently serve clients with sensitivities or those who simply prefer a more conscious approach to their beauty routine. It’s a direct way to build lasting trust.
The Power of Certification
While a brand can make its own claims, a certification acts as an independent stamp of approval. It gives your clients a clear, reliable way to identify products that meet rigorous ethical and safety standards. When you choose to stock certified brands, you’re showing a dedication to quality that speaks volumes.
Think of it this way: a cruelty-free certification from a trusted organisation like PETA or Cruelty Free International instantly tells your client that no animal testing was involved—not for the finished top coat, nor for any of its ingredients. This provides peace of mind and reinforces your spa or pharmacy’s ethical position.
This trend toward mindful consumption isn't just a niche—it’s driving significant market growth. Look at the demand for high-performance beauty and skincare worldwide. In China alone, the cosmeceuticals market is expected to reach USD 59.20 billion by 2034, and skincare already holds a massive 77.5% of that market. You can explore more data on these trends at fortunebusinessinsights.com.
This global demand highlights a clear appetite for quality, proven formulations. Certified, ethical gel products are perfectly positioned to meet this need. In the end, stocking products that align with wellness and sustainability isn't just good ethics—it's just plain good business.
How to Stock and Merchandise Top Coat Gel Effectively
Having a great top coat gel is one thing; selling it successfully is another. For Swiss pharmacies and spas, turning that little bottle into a consistent source of revenue comes down to smart stocking and thoughtful merchandising.
First things first, let’s talk product lifecycle. Most top coat gels have an optimal shelf life of 12 to 24 months once opened. To keep everything fresh and effective, you absolutely need a first-in, first-out (FIFO) inventory system. It’s the only way to guarantee your clients are always getting a product that performs as it should.
Storage is just as important. These gels are sensitive, so always keep the bottles in a cool, dark spot. Make sure they’re well away from direct sunlight or the heat from your curing lamps. If they get exposed, the formula can start to thicken or even cure right there in the bottle, making it completely useless.
Strategic Merchandising for Higher Sales
Once you’ve nailed the storage, you can focus on presentation. How you display your top coat gels can make a huge difference in how customers perceive their value. Don't just line them up on a shelf with everything else.
- Create ‘Manicure Essential’ Kits: Think about bundling a premium top coat gel with a base coat and a few popular gel colours. This makes the shopping experience easier for your customers and naturally increases the value of each sale.
- Use Educational Displays: Show, don’t just tell. Set up a small, elegant display with cured nail tips. Paint some with a high-shine finish and others with a velvety matte. Seeing the difference side-by-side is far more persuasive than any product description.
Your goal should be to position a premium, certified top coat gel as an investment in a better manicure. When you can point to tangible benefits—like longer-lasting results, safer ingredients, and strong brand values—the higher price point makes perfect sense to the customer. This strategy doesn't just drive sales; it builds trust.
And the timing couldn’t be better. Even when other retail areas see a slowdown, the beauty market often shows incredible strength. Take China, for example, where the cosmetics retail market reached a record 465.3 billion RMB in 2025, marking a 5.1% increase from the previous year. As this market overview from cosmeticsbusiness.com confirms, analysts see sustained growth ahead. This global trend points to a strong and growing consumer appetite for quality cosmetics, creating the perfect climate to showcase your premium gel offerings.
Frequently Asked Questions About Top Coat Gel
As a professional, you're bound to get questions from clients and even fellow technicians. Having clear, confident answers ready not only helps your clients but also cements your reputation as an expert in your field.
Here’s a rundown of the most common questions we hear about top coat gel and how to answer them.
Can I Use a Different Brand of Top Coat Over Another Brand’s Colour Gel?
This is a classic question. While you might get away with it occasionally, I always strongly advise against it. Think of a gel system—the base, colour, and top coat—as a complete, scientifically formulated team.
Brands engineer their products to work together seamlessly, ensuring perfect adhesion and curing. When you start mixing and matching, you risk running into all sorts of compatibility problems like wrinkling, a dull finish, or chipping that happens way too soon. For results that are guaranteed to last and keep your clients happy, sticking to one complete system is always the best way to go.
It’s a bit like a chef’s recipe. Every single ingredient is chosen and measured to create a perfect final dish. If you swap out a key ingredient for another, you can't be surprised if the result isn't quite right. A gel system is the same; the lamp, base, colour, and top coat are all designed to work in perfect harmony.
Why Is My Top Coat Gel Wrinkling After Curing?
Wrinkling is frustrating, but the good news is it's almost always an easy fix. Nine times out of ten, the problem is one of two things.
First, and most often, the top coat gel was applied too thickly. A thick layer prevents the UV or LED light from penetrating all the way through, so the gel underneath can't cure properly, which causes that tell-tale wrinkled surface.
The other likely culprit is your lamp. Bulbs in curing lamps lose their power over time and need to be replaced regularly. An old or underpowered lamp just won't have the strength to deliver a full, proper cure. The solution? Always apply your top coat in a thin, even layer and make sure your lamp is in top working condition.
Is a Top Coat Gel Absolutely Necessary for a Gel Manicure?
Yes, one hundred percent. The top coat isn’t an optional extra; it's what makes a gel manicure a gel manicure. It’s the essential armour that shields the beautiful colour from the knocks and scrapes of daily life.
Without a top coat gel, a manicure will start to look dull and begin to chip within just a few days. That completely defeats the purpose of getting a long-lasting gel service in the first place. The top coat is the final step that locks everything in, protecting the colour from scratches and UV fading while delivering that flawless high-shine or velvety matte finish your client expects.
Elevate your offerings with brands that blend performance with ethical principles. Explore the curated collections of certified, natural, and high-quality cosmetics available at beautysecrets.agency and discover how our products can help you meet the demands of today's discerning clients. Find your perfect match at https://beautysecrets.agency.


